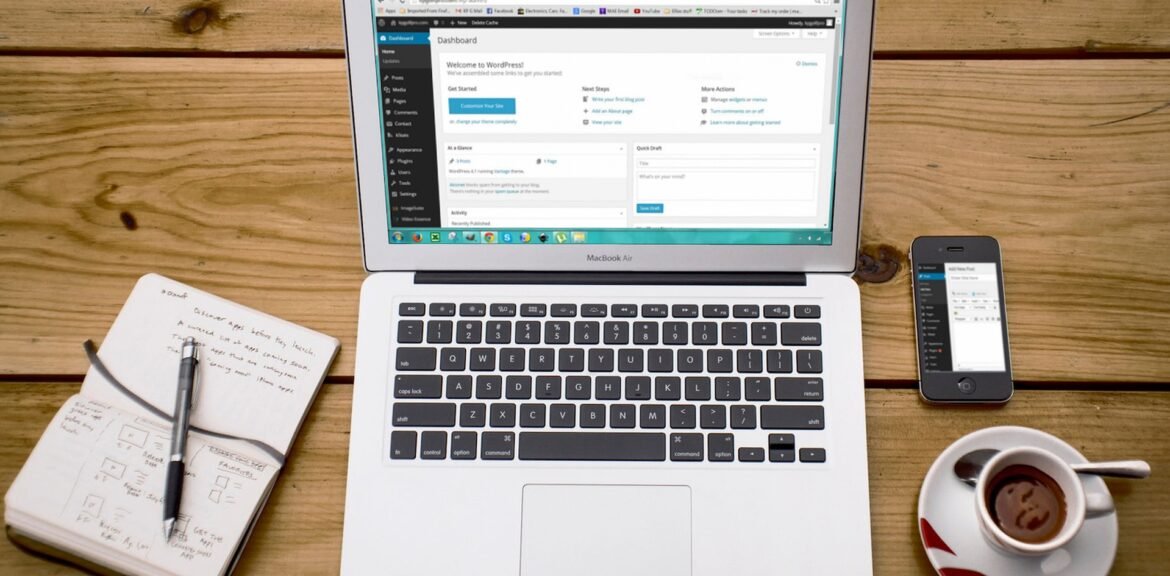
Welcome to the exciting world of WordPress! In this article, you’ll learn how to set up WordPress like a boss – without pulling your hair out. Whether you’re a seasoned blogger or a complete newbie, you’ll find everything you need to know to get started with your new website.
We’ll cover everything from the things you need before installing WordPress, to how to install it on Hostinger, Siteground (our recommended providers), and even how to install it manually – which will allow you to install it on any hosting provider.
But wait, before we dive into all that, if you’re not familiar with what WordPress hosting actually is, don’t worry! We’ve got you covered. Check out our article “What is WordPress Hosting? Give Your Site a Home, Not a Place to Crash” for a quick primer. Now that we’ve got that out of the way, let’s dive into everything you need to know about installing WordPress!
We’ll make sure that you have all the tools and information you need to set up a successful WordPress site that’s both easy to use and incredibly impressive. So sit back, relax, and get ready to say goodbye to tech headaches and hello to a world of endless possibilities with WordPress.
Things you need before installing WordPress
Before you can install WordPress and get your website up and running, there are a few things you’ll need to have in place first. Think of it as getting your ducks in a row before you embark on your WordPress journey. Don’t worry, we’ll make sure you have everything you need to get started without any hiccups.
- A Domain Name: Your domain name is like the address of your website, so you’ll want to choose one that’s memorable and easy to type. Think of it as the digital equivalent of your street address.
- A Hosting Account: A hosting account is where your website will live on the internet. It’s like renting a virtual space for your website to call home. We recommend Hostinger and Siteground as our top choices, but you can choose whichever hosting provider you prefer. To learn more about hosting and find out why we like Hostinger and Siteground so much, you can check out our article,”The Host with the Most: How to Choose the Best Hosting Provider”, which provides a fairly thorough overview of WordPress hosting.
- A Cup of Coffee: And last but not least, you’ll want to make sure you have a steaming hot (or freezing cold) cup of coffee (or your beverage of choice) to keep you fueled and focused.
So there you have it, folks! With these three things in place, you’re ready to start setting up your WordPress site and take the first step on your exciting journey. So grab your cup of coffee, put on your WordPress hat, and let’s get started!
How to install WordPress On Hostinger (Our Recommended Provider)
Hostinger is one of our top recommended hosting providers, and for good reason. They offer great value for money, excellent customer support, and a user-friendly platform. Here’s a step-by-step guide to help you install WordPress on Hostinger:
- Sign up for Hostinger: Start by signing up for a Hostinger hosting plan. They offer a variety of plans to choose from, so pick the one that best fits your needs. You could choose from one of their various hosting packages here: https://www.hostinger.com/wordpress-hosting
- Log in to your Hostinger account: Once you’ve signed up, log in to your account and access the Hostinger control panel by clicking “hosting” on the top navigation bar.
- Now, click “Manage” next to the domain you want to install WordPress on.
- On your hPanel Dashboard, scroll down to the website section and find the “Auto Installer” button. Click it and select “WordPress”.
- You’ll then be prompted with a form that you’ll need to fill out. Make sure your domain name is selected and fill out the Administrator Username, Password, and Email for your WordPress website. This will be your login information to access your WordPress Dashboard – it doesn’t have to be the same as your hosting login info.
- After you’ve filled out all of the info, hit the “Install” button.
- You should now see WordPress installed under your Installed Applications. Click on the three dots next to your domain and press “Manage”.
- You can now click “Edit Website” to view your your WordPress Dashboard. And that’s it – you’re done!
Installing WordPress on Hostinger is easy, and with their excellent customer support, you’ll have all the help you need to get your website up and running in no time. So go ahead and give it a try!
Note: If you run into any issues during the installation process, Hostinger offers 24/7 support to help you out.
How to install WordPress On Siteground (Another Recommended Provider)
Setting up your WordPress website on SiteGround is a breeze. Just follow these simple steps and you’ll be up and running in no time.
- Log in to your SiteGround hosting panel and click on the ‘Websites’ tab.
- Click the ‘New Website’ button
- If you already have a domain, click ‘Existing Domain’ and type in the name. If not, you can click “New Domain”
- On the next screen, pick the domain you want to use and click ‘Continue’ then ‘Start New Website’ and select ‘WordPress’ from the list of options.
- Enter the email and password you want to use for your WordPress admin account and click ‘Continue’. This doesn’t have to be your Siteground Email and Password but it’s what you’ll use to access the backend of your WordPress website.
- On the next screen, you can add extras to your account, but feel free to skip it by scrolling to the bottom and clicking ‘Finish’.
- SiteGround will now create your site (which may take a few minutes), after which you can click ‘Log in Admin’.
- The SiteGround website set up wizard will automatically launch and guides you through the process of getting started with WordPress.
- Choose a design template that best resembles your desired end-result, select the features you want to add (e.g. Contact Form, Shop, Calendar, Jetpack) and click ‘Next’.
- You can also opt in to add marketing tools such as MonsterInsights, AIOSEO and OptinMonster, then click ‘Complete’.
- Wait a few minutes and you’ll see a success message with a ‘Go to Dashboard’ button.
- Click the button to visit the WordPress admin dashboard and start customizing your site, creating content, and making it your own.
And there you have it! Installing WordPress on SiteGround was a piece of cake. Now, get to creating and building the website of your dreams.
How to Install WordPress Using cPanel
Installing WordPress using cPanel is a straightforward process, especially with the help of autoinstallers. Here is a step-by-step guide to setting up your WordPress site using cPanel:
- Log in to cPanel: Upon signing up for hosting, you should see a button to access cPanel on your hosting dashboard. cPanel serves as a hosting management dashboard provided by most web hosts.
- Choose an autoinstaller: cPanel generally offers access to one or more autoinstallers, including Softaculous, Fantastico, QuickInstall, or MOJO Marketplace. Some hosts may also offer a proprietary WordPress installation tool.
- Install WordPress: Find the link to the WordPress autoinstaller in cPanel and click on it. Next, click the “Install Now” link on the following screen.
- Enter details: Fill in the protocol and domain name where you want to install WordPress (choose HTTPS if you have an SSL certificate, otherwise, choose HTTP). Choose the directory for your WordPress installation. In most cases, you should leave this field blank.
- Site Settings: You can choose any site name and description you want to use on your site. Keep in mind that this is not set in stone and you can always change this info down the line if you wish to do so. Do not enable the WordPress multisite unless you want to create a multisite network.
- Login credentials: Create a username and password for your WordPress account, which you will use to log in to your WordPress dashboard after installation. Keep in mind that this doesn’t have to be the same as your hosting credentials.
- Install: Make sure to click the “Install” button at the bottom of the screen and wait a minute or two for the process to take place.
- Confirmation: Almost there! Click “Install” at the bottom of the screen and sit back for a moment while WordPress is installed for you. The process might take a minute or two, so you can grab a coffee or check your phone in the meantime. After it’s done, you’ll receive a confirmation and that’s it – you’re now the proud owner of a shiny new WordPress site! You can log in by going to YOURDOMAIN.com/wp-admin and using the username and password you created earlier. Enjoy!


